

I got a free pair of cheap, plastic, bank freebie sunglasses last summer which have a great shape but there was never an appropriate moment for me to wear a pair of black plastic and neon yellow on my face... I transformed my freebies sunnies into a lovely pair of feminine mint/floral lenses. I am really pleased with the end product plus I had every thing on hand so it cost me nothing to make! I love free stuff! Let me know if this project inspires you to make your own pair! Instructions and superfluous instructions can be found after the jump. You might notice that some of the steps feature a different pair of glass that is because I had to re-photograph the project after when I realized it had been on landscape mode...ugh.

p.s. next week I will bring you a second Sunglasses DIY!

For this DIY I used : A cheap pair of sunglasses, tacky glue, nail polish, painters tape, a vintage scarf, excacto knife and nail polish remover. You totally have all those things right?! Thought so.

To the front of the frames, this step is necessary to protect the plastic lenses from getting nail polish all over in addition to creating more clean up work later on. Run your nail around the parameter of the lenses to get all the edges flush.

Cut away the extra painters tape with your exacto knife... be careful and go slow the proper execution of this step is one of the major elements of this project.
 Any color. Doesn't matter. Go slow. You have been warned this step sucks.

Liberally apply, don't be stingy Sista!

Make sure the fabric, or in my case a thin vintage scarf, is taught and smooth against the temple of the glasses. I also cut a small rectangle of the scarf off before gluing it to the temple.

Self explanatory. Necessary for comfort. 100% optional.

So when you remove the painters tape with out pulling and lifting up the dried nail polish. Trust me just do it.
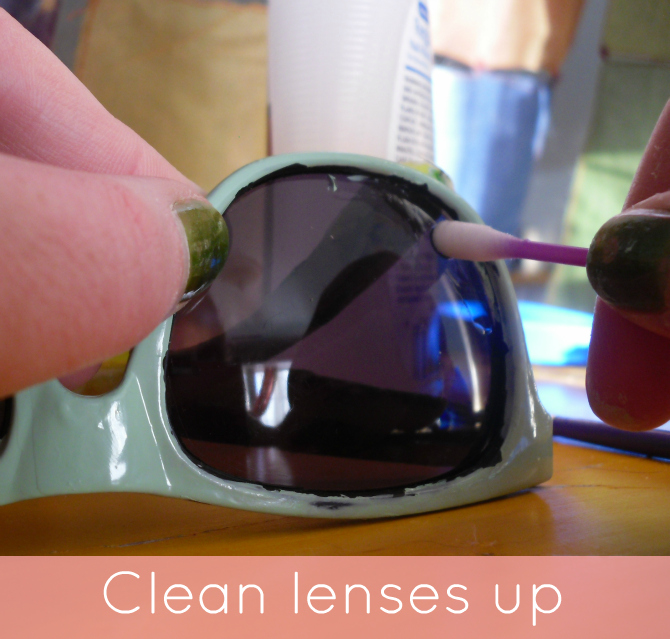
I used nail polish remover but beware it clouds up the cheap plastic lenses a bit which is the only part of the project that bothered me next time I would just try to use soap and water or a cleaning agent like windex.

I hope you enjoyed this DIY!

Lovely!
ReplyDelete